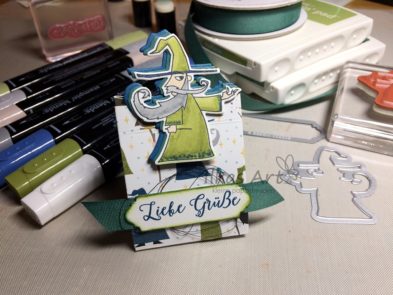
Ich hatte auf dem Zettel in meinem OnStage Swap versprochen die Anleitung online zustellen, und hier ist sie jetzt! Ich habe mal ein anderes Papier und Motiv benutzt, die Box ist aber die gleiche geblieben. Die Liste der verwendeten Produkte findest Du ganz am Schluß. Viel Spaß beim Nachbasteln!
I promised on the small note in my OnStage Swap that I would put the tutorial for the box on my Blog. So here we go! I changed the paper and stamped image, but the box is the same. You can find the full list of supplies at the end of the post. Have fun!
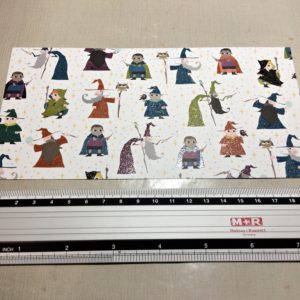
Du brauchst Designerpapier in der Größe 20 x 10 cm und einen Streifen Farbkarton mit 11,5 x 4 cm. Zwei Stücke Farbkarton und eines in Flüsterweiß extrastark in der Größe Deines Motivs und etwas Flüsterweiß für den Spruch sollten auch greifbar sein.
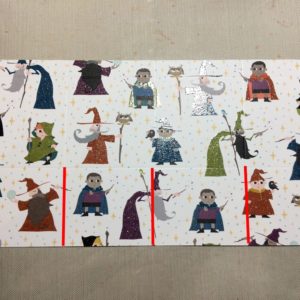
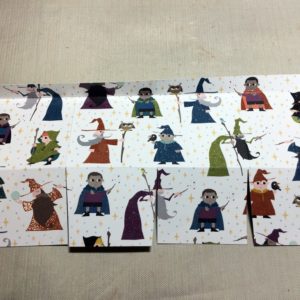
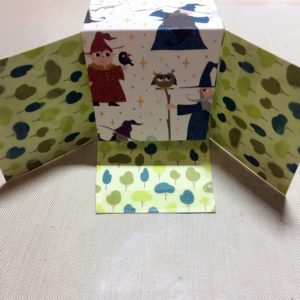
Falze das Designerpapier auf der Seite mit 20 cm bei 4,8 cm / 9,6 cm / 14,4 cm / 19,2 cm, und auf der schmalen Seite bei 4 cm / 9 cm. Damit erhälst Du auf der langen Seite einen schmalen Streifen oben und vier Rechtecke unten, und an einem Seitenrand eine kleine Klebelasche. Die Falz zwischen den vier Rechtecken schneidest Du bis zur ersten Querlinie ein (s. die roten Linien auf dem Bild), den kleinen rechteckigen Streifen der Klebelasche kannst Du bis zur ersten Querlinie ganz wegschneiden. Die beiden Querlinien bei 4 und 9 cm werden in unterschiedliche Richtungen gefaltet, das kannst Du auf dem letzten Bild hoffentlich ganz gut sehen.
You will need a piece of DSP measuring 20 x 10 cm and a piece of cardstock measuring 11,5 x 4 cm. Two pieces of cardstock and one of thick Whisper White cardstock matching the size of your stamped image and a bit of Whisper White for the sentiment should be on hand as well.
Score the DSP on the long side at 4,8 cm / 9,6 cm / 14,4 cm / 19,2 cm and on the short side on 4 cm / 9 cm. This will give you a narrow strip on top of the long side and four rectangles at the bottom and a narrow glue tab on one side. Cut the score lines between the rectangles up to the first crossline (the red lines on the picture). The small section of the glue tab up to the first crossline can be cut off. The two crosslines are folded in different directions as it’s shown on the third picture below.
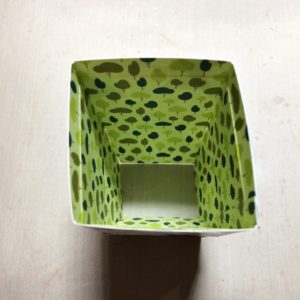
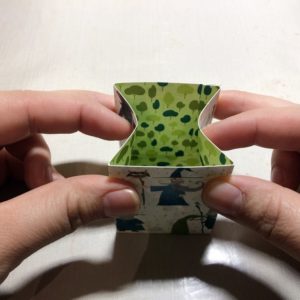
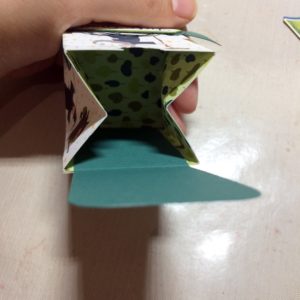
Jetzt kannst Du die Box mit einem starken Kleber wie dem Mehrzweckflüssigkleber zusammenbauen; erst wird das Papier zu einem Schlauch zusammengeklebt und dann die Bodenlaschen eingefaltet. Ich habe hier auf 3 der Laschen Kleber, damit auch alles gut hält. Ist das erledigt, drückst Du zwei gegenüberliegende Seiten mit dem Finger ein; damit kommen die beiden übrigen Seiten automatisch zusammen. Wenn die beiden Kanten schön übereinander liegen drück die Öffnung gut zusammen.
Use a strong adhesive, e.g. the multipurpose glue to stick your box together. First use the small glue tab and build a tube out of your paper, then you fold in the bottom flaps. I put glue on three of the tabs to make sure they hold together well. When this is done and the glue is dry, use your fingers to press in on two opposite sides. You will see that they fold inwards, bringing the other two sides together automatically. Align them and give it a good press.
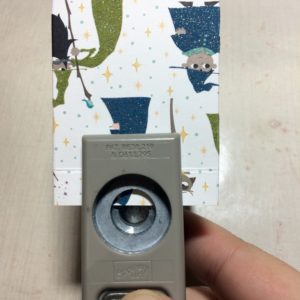
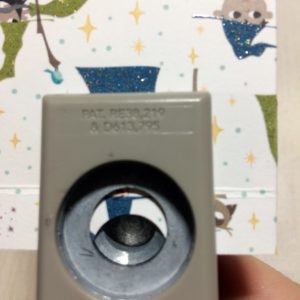
Mit der 1/2 inch-Stanze wird jetzt mittig an einer Seite erst ein Halbkreis ausgestanzt. Schiebe die Stanze dann noch einmal etwas tiefer bis Du die Falzlinie in der Stanze siehst und stanze nochmal.
Use the 1/2 inch punch to punch out a semi circle at one side, then put the paper in the punch again at the same spot and move it a bit further. If you can just see the score line punch again.
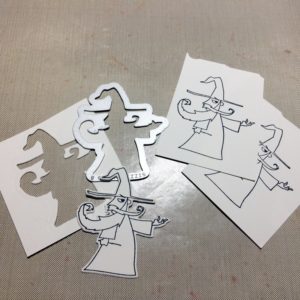
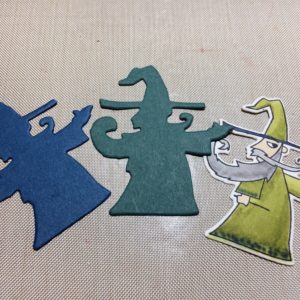
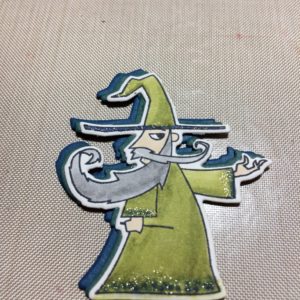
Stempele Dein Motiv auf Flüsterweiß extrastark und koloriere es wie Du möchtest. Ich habe hier wie beim Einhorn die Stampin‘ Blends benutzt. Stanze das Motiv dreimal aus, einmal Dein ausgemaltes Stempelbild und zweimal aus Farbkarton. Klebe die drei Schichten mit einem leichten Versatz zusammen. Hier habe ich auch den Mehrzweckkleber benutzt, so kann man noch ein bißchen schieben bis es passt.
Stamp your image on thick Whisper White and colour it, in this case I used again the Stampin‘ Blends as I did for the unicorn as well. Punch the image three times: once your colourized image and twice from card stock. Glue them together with a slight offset. I used the multipurpose glue again, as it gives you a little bit of wiggle room to work with.
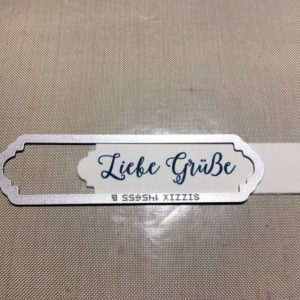
Stempel Deinen Spruch auf ein Stück Flüsterweiß (ich habe hier auch extrastark genommen weil es eh gerade greifbar war) und benutze die Label-Stanzform aus den Thinlits Blüten, Blätter & Co. um ihn auszustanzen. Da mir die normale Länge der Stanze zu lang war, habe ich den Thinlit erst recht nah am Spruch angelegt und dann das ausgestanzte Teil mit versetztem Thinlit (s. Bild) nochmal durchgekurbelt.
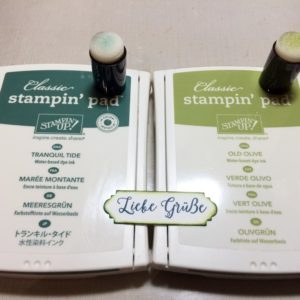
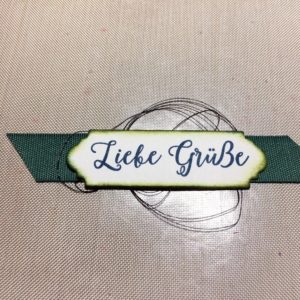
Die Ränder habe ich mit Schwämmchen noch etwas eingefärbt und den Spruch dann mit etwas Metallic-Garn auf ein Stück Band aufgeklebt.
Stamp the sentiment on a piece of Whisper White (I used thick Whisper White as I had it out already) and use the label die from the Petals and More Thinlits to cut it out. As I wanted a smaller size than the die usually gives, I placed the first cut to the edge of the sentiment and ran it through the Big Shot again with an offset as you can see in the picture.
I sponged the edges a bit and glued the sentiment with some black metallic thread to a piece of ribbon.
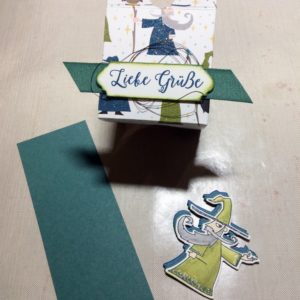
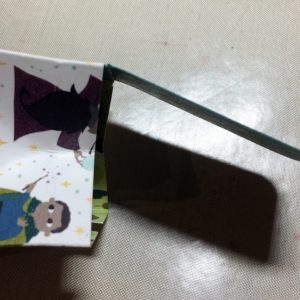
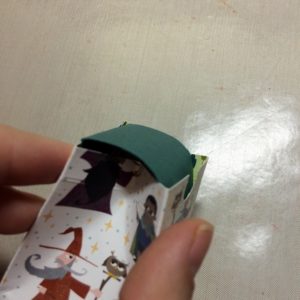
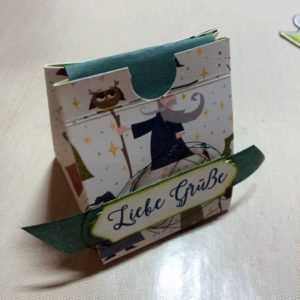
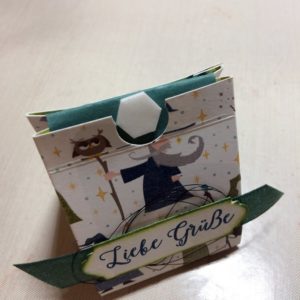
Jetzt sind alle Einzelteile beisammen. Klebe den Spruch auf die Vorderseite der Box, dort wo Du ein Stück ausgestanzt hast. Falte den Streifen Farbkarton einmal in der Mitte und klebe ihn innen an der Rückwand der Box fest, so dass die Falzlinie des Streifens an der Kante der Box liegt. Die beiden sichtbaren Ecken kannst Du noch abrunden, dann lässt sich der Streifen leichter einschieben. Nimm jetzt das lose Ende des Streifens und schiebe ihn innen an die Vorderseite der Box, während Du gleichzeitig Vorder- und Hinterseite leicht zusammendrückst. Der Streifen verschwindet jetzt in der Box und dient als Lasche, der die Box zusammenhält. Dort wo Du gestanzt hast passt genau ein Dimensional hinein. Halte die Box mit einer Hand fest verschlossen und klebe dann dein geschichtetes Stempelmotiv auf den Dimensional auf.
You have all the pieces now, let’s put it together. Adhere the sentiment to the front of the box where you punched a piece out of the top. Fold the strip of cardstock in half and adhere it to the inside at the back of the box, so that the score line is lined up to the edge. You can round the two corners of the cardstock still showing. Take the loose end and slide it behind the front of your box, at the same time press front and back carefully together. The cardstock strip should slide into the box and you will end up with a latch holding front and back together. In the space where you punched out a piece is enough room for a dimensional. Adhere your layered stamped image to this while holding the box closed with the other hand.
Und fertig!
All done!
Product List



Hinterlasse einen Kommentar