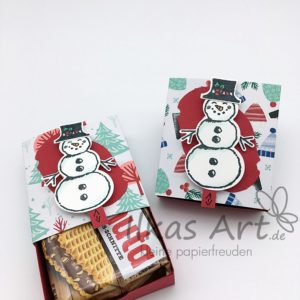
Ich hatte das Glück dieses Wochenende zur OnStage Live nach Dortmund fahren zu können. Als Idee für einen Swap hatte sich schon vor einer ganzen Weile ein winkender Schneemann in meinem Kopf festgesetzt. Nach etwas Tüftelei hatte ich dann eine Möglichkeit gefunden meine 70 Swaps anzufertigen, ohne dabei wahnsinnig zu werden. Meine Lösung für die Wackelarme habe ich Dir unten zusammengeschrieben. Viel Spaß beim Nachbasteln!
I was incredibly lucky to attend OnStage Live in Dortmund this weekend. The swap idea of a waving snowman had gotten stuck in my head a while ago, but I needed a few tries to find a way to create the 70 swaps without going crazy. You can find my solution for the waving arms below – have fun crafting!
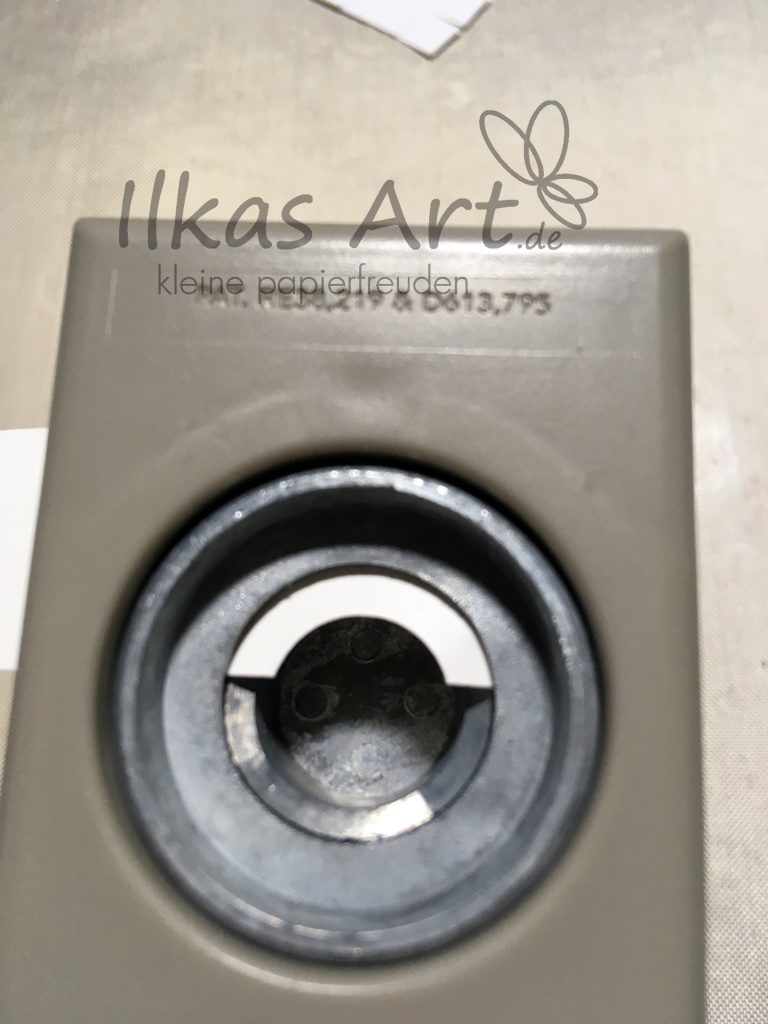
Den Schneemann mit Hut und Armen habe ich nach dem Stempeln mit der zugehörigen Elementstanze ausgestanzt. Um die Arme bewegen zu können brauchte ich ein Gelenk; ich hatte noch das alte Stanzenpaket „Freche Früchtchen“ aus dem praktischerweise die Ananas gepasst hat. Man kann sich aber auch aus etwas Farbkarton etwas passendes zurechtschneiden.
I stamped the snowman with its hat and arms and used the Snowman Builder punch to punch out all of the parts. To be able to move the arms I needed to attach them to a joint. Luckily I could use the pineapple punch from the old Itty Bitty Fruit Punch Pack, but you can also use your Paper Snips to cut some cardstock accordingly.
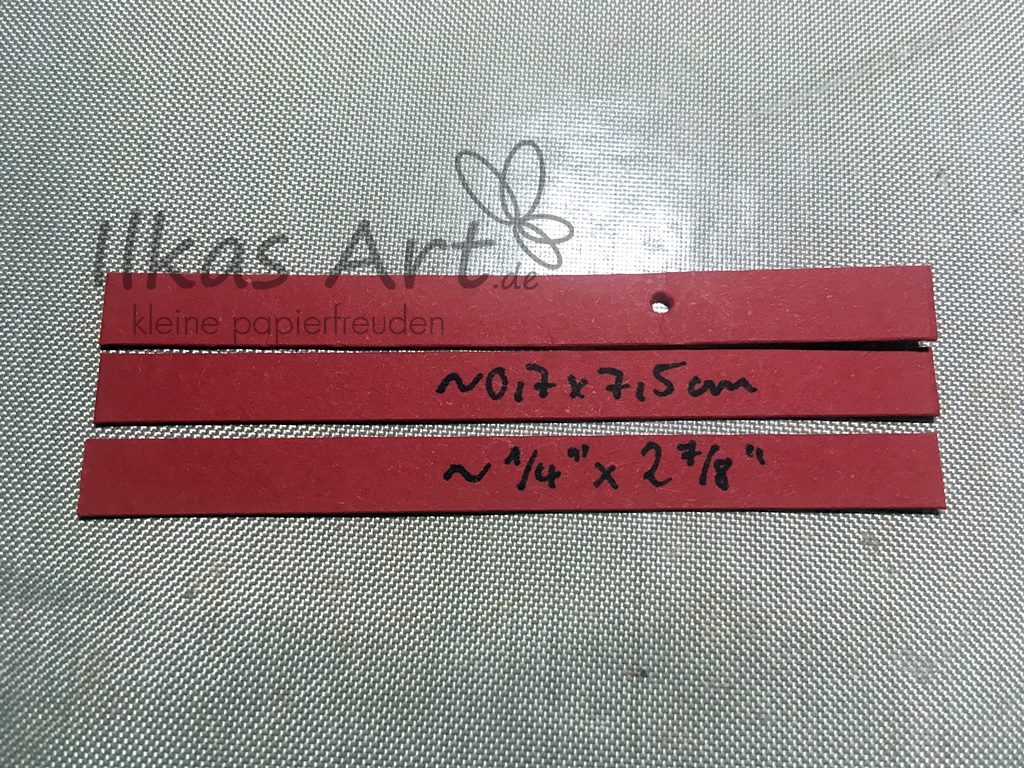
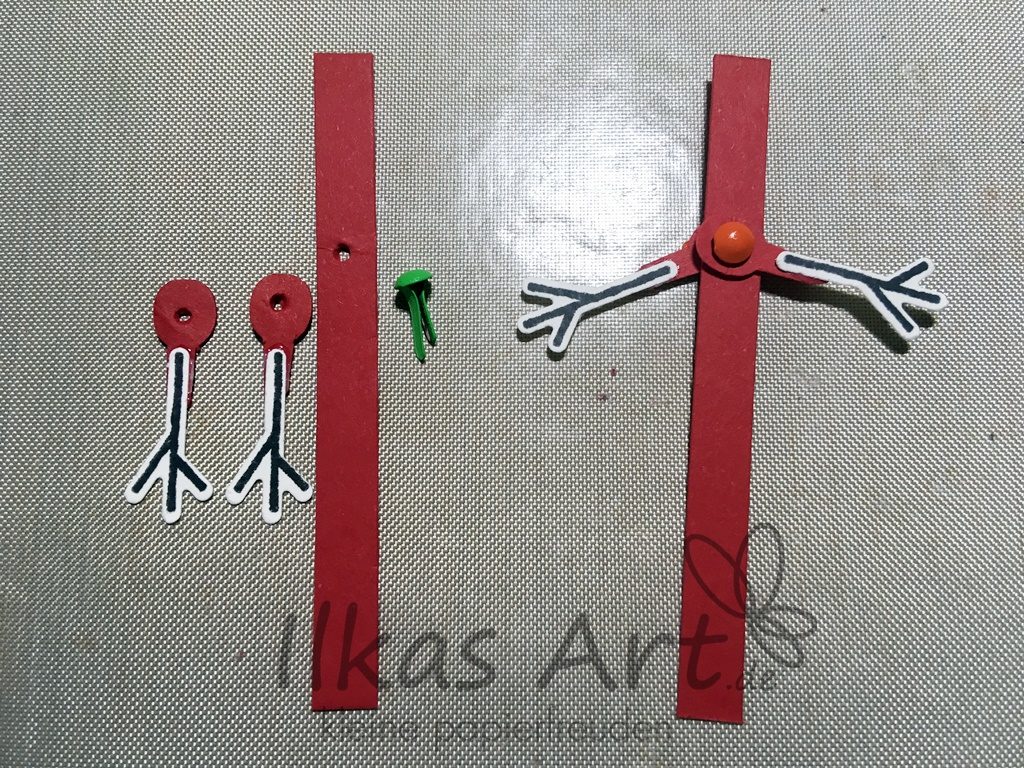
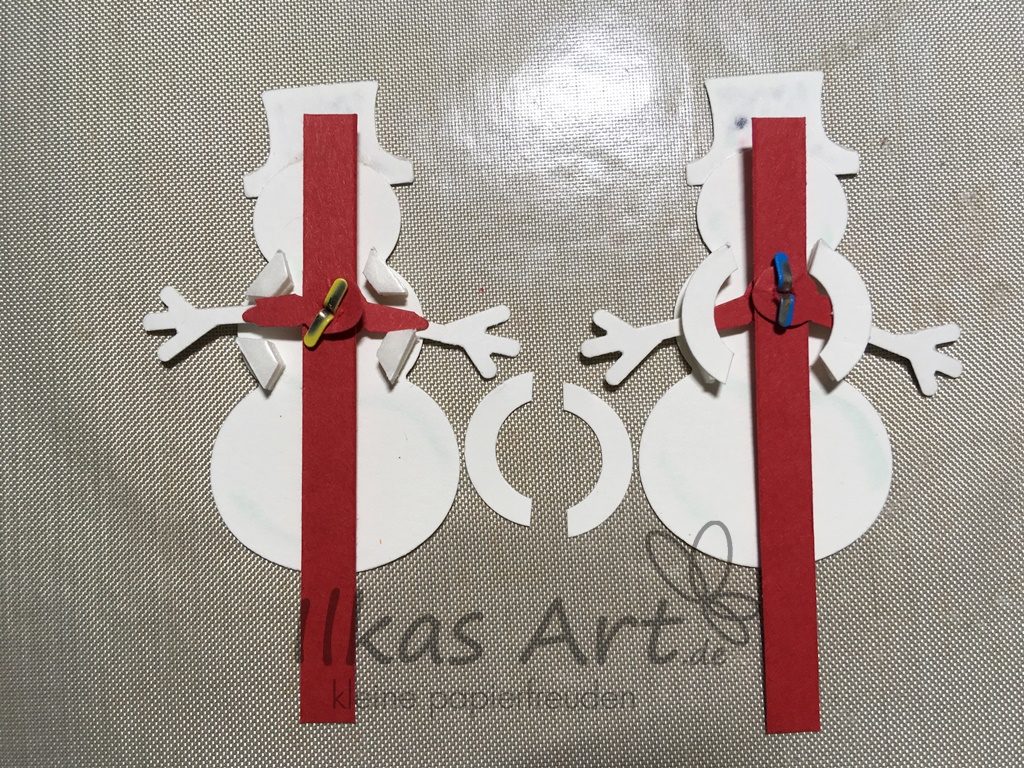
Die Arme habe ich mit einem Brad an einem Streifen Farbkarton (ca. 0,7 cm x 7,5 cm) befestigt; je einen vor und einen hinter dem Streifen. Die Länge muss nicht exakt sein, was übersteht wird später noch abgeschnitten.
Use a brad to attach the arms to a strip of cardstock measuring approx. 1/4″ x 2 7/8″, one arm in front and one behind the strip. Don’t worry about the exact length, anything extra will be cut off later.
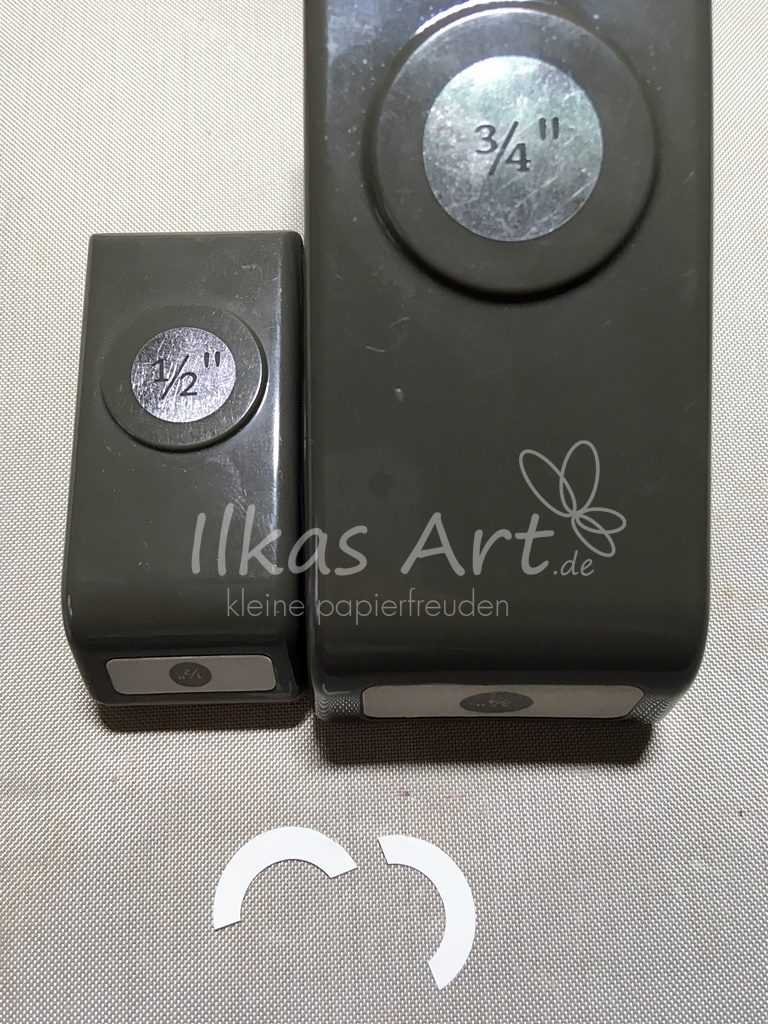
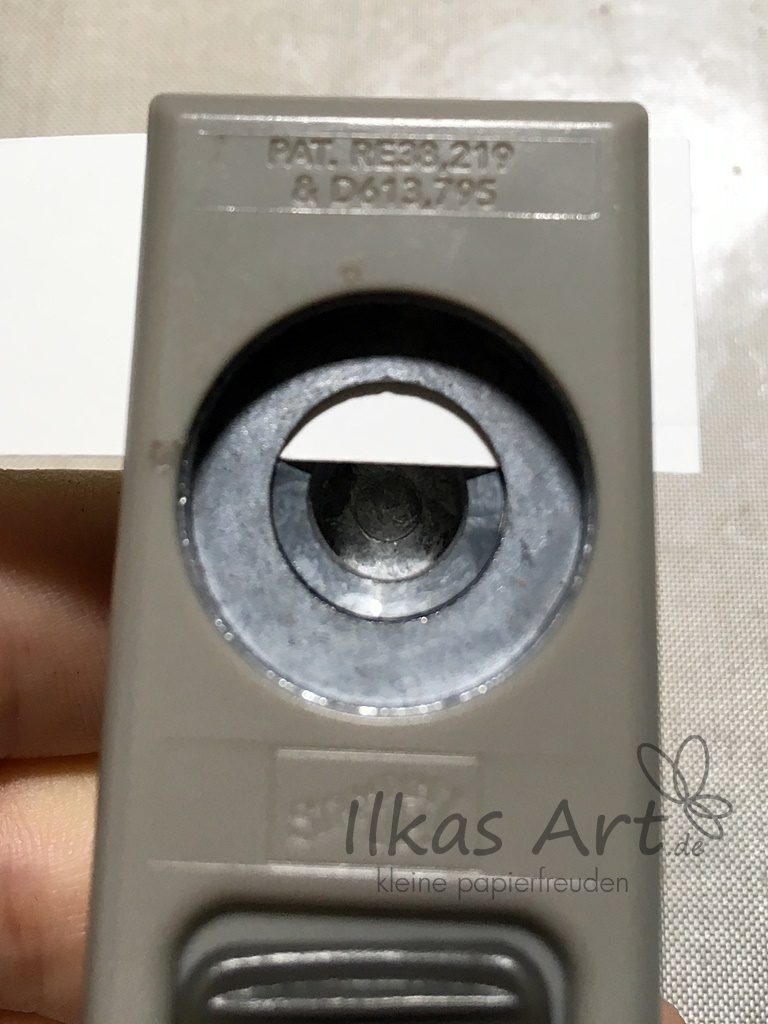
Damit die Arme später nicht aus der Führung springen habe ich mir mit Hilfe von den Kreisstanzen in der Größe 1/2″ und 3/4″ halbe Ringe ausgestanzt.
To make sure the arms do not jump out of the channel I used the two circle punches measuring 1/2″ and 3/4″ to create the shape of a ring cut in half.
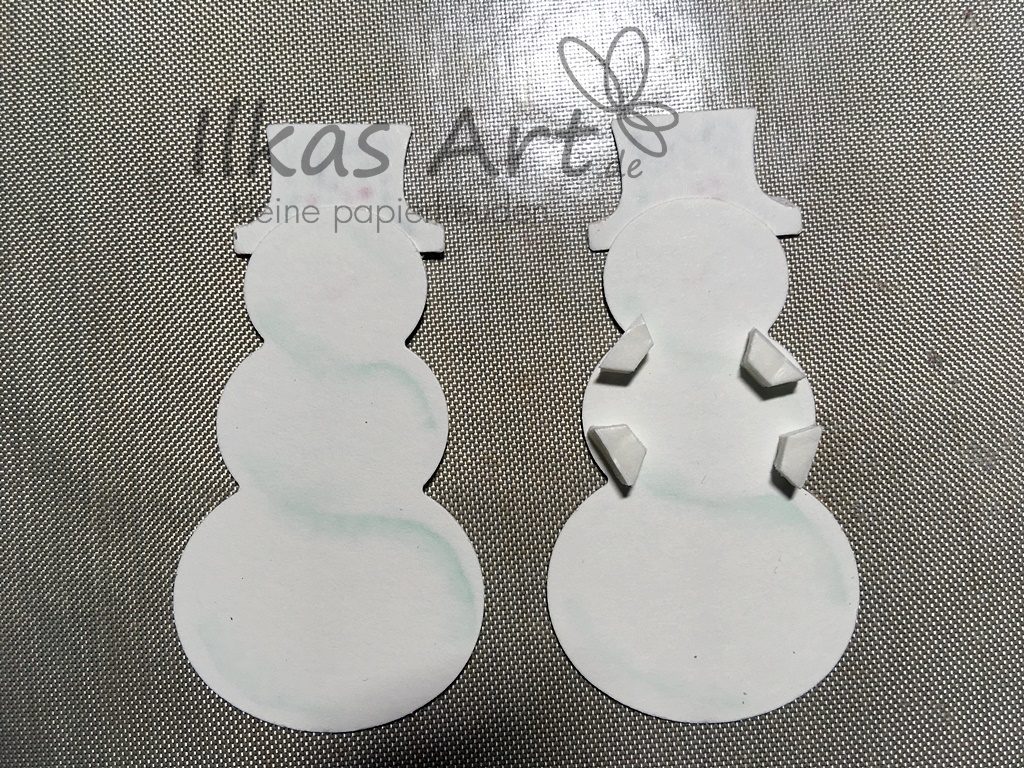
Jetzt müssen die Einzelteile nur noch zusammengesetzt werden. Für die Armführung habe ich 2 Mini-Dimensionals aufeinandergeklebt, halbiert und dann auf der Rückseite des Schneemanns aufgeklebt. Die Arme werden wie auf dem Bild gezeigt aufgelegt und mit den Halbringen fixiert.
Now all that’s left is to put the pieces together. I stacked 2 Mini-Dimensionals, cut them in half and put them on the back of the snowman to create the channel to guide the arms in. The strip of cardstock is placed as shown in the picture and locked in place by the ring shapes.
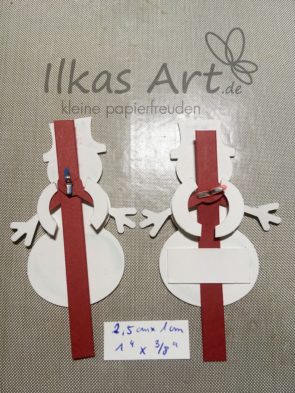
Damit der Streifen nur nach oben und unten bewegt wird und um den Schneemann mit Dimensionals auf der Box befestigen zu können, habe ich noch ein Reststück Flüsterweiß als Führung aufgeklebt. Wichtig: der Kleber darf nur links und rechts aufgetragen werden, nicht den roten Streifen mit den Armen festkleben!
As the strip of cardstock with the arms attached should only move up and down and as I need to put dimensionals somewhere to attach the snowman to the box, I used a piece of Whisper White to create a guide. It is very important that any glue is only applied to the left and right end of the Whisper White piece – do not glue down the red strip with the arms!
Mit je 2 aufeinander gestapelten Mini-Dimensionals am Hut und normalen Dimensionals auf dem weißen Streifen kann man den Schneemann jetzt dort aufkleben, wo man ihn haben möchte. Ist der rote Streifen oben oder unten zu lang wird er einfach entsprechend gekürzt. Und das wars, jetzt kann der Schneemann winken!
With 2 stacked Mini-Dimensionals behind the hat and 2 stacked Dimensionals on the piece of Whisper White the snowman is now attached to wherever you want it. If the red strip is too long at the top or bottom just shorten it a bit with some scissors. That’s it, the snowman can now wave!
Product List





Hinterlasse einen Kommentar